上台報告要 show CT/MRI/angio 影像,簡單一點的是抓出 key image,直接貼在 slides 裡,缺點是沒有動感。如果要讓畫面動起來,可以把影像組成 GIF 動畫,直接貼在 slides 裡,缺點是沒辦法調整動畫的速度,也不能暫停播放;如果是用傳統簡報軟體,可以把動畫做成影片檔嵌入,可以透過底下的播放控制項來控制,但我現在都是用 Google Slides,就要把影片上傳至 YouTube 才能嵌入,而 YouTube 在拉時間軸的時候,畫面會暗掉,體驗非常不好。
ChatGPT 給的建議是利用 Google Apps Script (GAS) 寫一個小工具來控制影像顯示,他也給了我一些範圍程式碼,但這個方法非常麻煩,必須在投影片裡貼入大量影像,先複製貼上、再手動調整大小、對齊,嘗試了一下,還沒做完一組影像就瘋掉直接放棄。
另一個建議是用 HTML5 Viewer,把影像連結嵌入就可以在投影片中打開影像瀏覽器,好處是可以模擬平時在 PACS 上滾片的模式來 present,想滾多少滾多少,cine 播多快也可以控制。
幾年前在亞東為了教學也曾經架過 mini PACS (Orthanc + OHIF viewer + nginx proxy),但那時的電腦已經汰換,設定檔也已經找不到,而且這麼多年程式版本更新了說不定也不見得合用,所以乾脆全部重來。本來以為改用 Docker、由 ChatGPT 幫忙除錯,應該可以快速搭建,但也沒有想像中順利,記錄一下過程,或許以後有機會再用到。
以下是在 M1 macOS 15.3.1 下進行,要先安裝好 mac 版的 Docker Desktop。
開一個專用的目錄 pacs 有以下檔案和目錄:
pacs/
├── docker-compose.yml
├── nginx.conf
├── ofig.conf.js
├── orthanc-db/
└── orthanc.conf.json
目錄 orthanc-db/ 是本機上存影像的資料庫,之後要掛進 docker image 裡。
以下是 docker-compose.yml 內容:
services:
  orthanc:
    #image: jodogne/orthanc-plugins  # 先前版本
    image: orthancteam/orthanc:25.2.0
    container_name: orthanc
    restart: unless-stopped
    ports:
      #- "4242:4242"  # DICOM 通訊埠,只用 Web 介面就不用開
      - "8042:8042"  # Orthanc Web 介面
    environment:
      VERBOSE_STARTUP: "true"  # 比較方便除錯
      #VERBOSE_ENABLED: "true"
      DICOM_WEB_PLUGIN_ENABLED: "true"  # 用 environment 開或在設定檔開都可以
    secrets:
      - orthanc.conf.json  # 設定檔
    volumes:
      - ./orthanc-db:/var/lib/orthanc/db  # 儲存 DICOM 檔案
    networks:
      - orthanc-net

  nginx:
    image: nginx:1.27.4-alpine
    container_name: nginx
    restart: unless-stopped
    ports:
      - "8080:80"  # Nginx 代理的端口
    volumes:
      - ./nginx.conf:/etc/nginx/nginx.conf:ro  # 設定檔
    depends_on:
      - orthanc
    networks:
      - orthanc-net

  ohif:
    image: ohif/app:v3.9.3
    platform: linux/amd64  # 因在 apple silicon 下跑,而 image 沒有 arm 的版本
    container_name: ohif
    restart: unless-stopped
    ports:
      - "3000:80"
    volumes:
      - ./ohif.conf.js:/usr/share/nginx/html/app-config.js:ro  # 掛載設定檔 (唯讀)
    depends_on:
      - orthanc
    networks:
      - orthanc-net

secrets:
  orthanc.conf.json:
    file: orthanc.conf.json

networks:
  orthanc-net:
Orthanc 的 image 早期好像會推薦 jodogne 包的,它又有分 jodogne/orthanc 和 jodogne/orthanc-plugins 兩種,如果要能透過 DICOMweb 抓資料,要選 orthanc-plugins 的 image,但現在基本上都推薦用官方包的 orthancteam/orthanc,除了比較新,plugin 也都有包進去,而且可以用 environment 來開關 plugin 功能,更方便。
不過官方的 image 比起 jodogne 的就肥不少:
REPOSITORY                TAG       IMAGE ID       CREATED       SIZE
orthancteam/orthanc       latest    fc52a4a369a4   8 days ago    3.03GB
jodogne/orthanc-plugins   latest    27be55e619be   4 weeks ago   723MB
Orthanc 的設定檔 orthanc.conf.json 如下,主要是改掉預設的帳號密碼 orthanc/orthanc,不然會一直跳出警告訊息。
{
  "Name": "Orthanc",
  "AuthenticationEnabled": true,
  "RegisteredUsers": {
    "ohif": "orthanc"
  },
  "RemoteAccessAllowed": true
}
OHIF 的設定檔 ohif.conf.js 如下,是從 source code 裡 copy 出來改的,主要是把 Orthanc 的 DICOMweb url 設定正確,因為要透過 nginx reverse proxy,所以 port 不是 8042 而是 8080。
window.config = {
  routerBasename: '/',
  extensions: [],
  modes: [],
  showStudyList: true,
  maxNumberOfWebWorkers: 3,
  showLoadingIndicator: true,
  showWarningMessageForCrossOrigin: true,
  showCPUFallbackMessage: true,
  strictZSpacingForVolumeViewport: true,
  // filterQueryParam: false,
  defaultDataSourceName: 'orthanc',
  investigationalUseDialog: {
    option: 'never',
  },
  experimentalStudyBrowserSort: true,
  dataSources: [
    {
      namespace: '@ohif/extension-default.dataSourcesModule.dicomweb',
      sourceName: 'orthanc',
      configuration: {
        friendlyName: 'local Orthanc DICOMWeb Server',
        name: 'DCM4CHEE',
        wadoUriRoot: 'http://localhost:8080/dicom-web',
        qidoRoot: 'http://localhost:8080/dicom-web',
        wadoRoot: 'http://localhost:8080/dicom-web',
        qidoSupportsIncludeField: true,
        supportsReject: true,
        dicomUploadEnabled: true,
        imageRendering: 'wadors',
        thumbnailRendering: 'wadors',
        enableStudyLazyLoad: true,
        supportsFuzzyMatching: true,
        supportsWildcard: true,
        omitQuotationForMultipartRequest: true,
        bulkDataURI: {
          enabled: true,
          // This is an example config that can be used to fix the retrieve URL
          // where it has the wrong prefix (eg a canned prefix).  It is better to
          // just use the correct prefix out of the box, but that is sometimes hard
          // when URLs go through several systems.
          // Example URLS are:
          // "BulkDataURI" : "http://localhost/dicom-web/studies/1.2.276.0.7230010.3.1.2.2344313775.14992.1458058363.6979/series/1.2.276.0.7230010.3.1.3.1901948703.36080.1484835349.617/instances/1.2.276.0.7230010.3.1.4.1901948703.36080.1484835349.618/bulk/00420011",
          // when running on http://localhost:3003 with no server running on localhost.  This can be corrected to:
          // /orthanc/dicom-web/studies/1.2.276.0.7230010.3.1.2.2344313775.14992.1458058363.6979/series/1.2.276.0.7230010.3.1.3.1901948703.36080.1484835349.617/instances/1.2.276.0.7230010.3.1.4.1901948703.36080.1484835349.618/bulk/00420011
          // which is a valid relative URL, and will result in using the http://localhost:3003/orthanc/.... path
          // startsWith: 'http://localhost/',
          // prefixWith: '/orthanc/',
        },
      },
    },
  ],
  hotkeys: [
    {
      commandName: 'incrementActiveViewport',
      label: 'Next Viewport',
      keys: ['right'],
    },
    {
      commandName: 'decrementActiveViewport',
      label: 'Previous Viewport',
      keys: ['left'],
    },
    { commandName: 'rotateViewportCW', label: 'Rotate Right', keys: ['r'] },
    { commandName: 'rotateViewportCCW', label: 'Rotate Left', keys: ['l'] },
    { commandName: 'invertViewport', label: 'Invert', keys: ['i'] },
    {
      commandName: 'flipViewportVertical',
      label: 'Flip Horizontally',
      keys: ['h'],
    },
    {
      commandName: 'flipViewportHorizontal',
      label: 'Flip Vertically',
      keys: ['v'],
    },
    { commandName: 'scaleUpViewport', label: 'Zoom In', keys: ['+'] },
    { commandName: 'scaleDownViewport', label: 'Zoom Out', keys: ['-'] },
    { commandName: 'fitViewportToWindow', label: 'Zoom to Fit', keys: ['='] },
    { commandName: 'resetViewport', label: 'Reset', keys: ['space'] },
    { commandName: 'nextImage', label: 'Next Image', keys: ['down'] },
    { commandName: 'previousImage', label: 'Previous Image', keys: ['up'] },
    {
      commandName: 'previousViewportDisplaySet',
      label: 'Previous Series',
      keys: ['.'],
    },
    {
      commandName: 'nextViewportDisplaySet',
      label: 'Next Series',
      keys: [','],
    },
    { commandName: 'setZoomTool', label: 'Zoom', keys: ['z'] },
    // ~ Window level presets
    {
      commandName: 'windowLevelPreset1',
      label: 'W/L Preset 1',
      keys: ['1'],
    },
    {
      commandName: 'windowLevelPreset2',
      label: 'W/L Preset 2',
      keys: ['2'],
    },
    {
      commandName: 'windowLevelPreset3',
      label: 'W/L Preset 3',
      keys: ['3'],
    },
    {
      commandName: 'windowLevelPreset4',
      label: 'W/L Preset 4',
      keys: ['4'],
    },
    {
      commandName: 'windowLevelPreset5',
      label: 'W/L Preset 5',
      keys: ['5'],
    },
    {
      commandName: 'windowLevelPreset6',
      label: 'W/L Preset 6',
      keys: ['6'],
    },
    {
      commandName: 'windowLevelPreset7',
      label: 'W/L Preset 7',
      keys: ['7'],
    },
    {
      commandName: 'windowLevelPreset8',
      label: 'W/L Preset 8',
      keys: ['8'],
    },
    {
      commandName: 'windowLevelPreset9',
      label: 'W/L Preset 9',
      keys: ['9'],
    },
  ],
};
其中這行設定是預設沒有的,加了這個可以把 viewer 底下提示僅供研究用的對話框隱藏。
investigationalUseDialog: {
    option: 'never',
},
之所以要搭一個 nginx 的 reverse proxy 是要處理 CORS 的問題,而且也要把 Orthanc 的 basic authentication 轉過去,不然 OHIF 沒辦法正確顯示影像。
events {}

http {
  server {
    listen 80;

    # 處理 CORS 設定
    add_header Access-Control-Allow-Origin *;
    add_header Access-Control-Allow-Methods 'GET, POST, OPTIONS';
    add_header Access-Control-Allow-Headers 'Content-Type, Authorization';

    # 如果是 OPTIONS 請求,直接返回 200
    if ($request_method = OPTIONS) {
      return 200;
    }

    location /dicom-web/ {
      # 代理請求到 Orthanc
      proxy_pass http://orthanc:8042/dicom-web/;
      proxy_set_header Host $host;
      proxy_set_header X-Real-IP $remote_addr;
      proxy_set_header X-Forwarded-For $proxy_add_x_forwarded_for;
      proxy_set_header X-Forwarded-Proto $scheme;
      proxy_http_version 1.1;
      proxy_set_header Connection "";
      proxy_set_header Authorization "Basic b2hpZjpvcnRoYW5j";
      proxy_cache_bypass $http_upgrade;
    }
  }
}
HTTP header 裡的 basic auth 是用 base64 編碼,可以用下列 command 得到:
echo -n ohif:orthanc | base64
這些都設定好後,就可以用 docker-compose up 跑起來,上傳和管理 dicom 檔是透過 http://localhost:8042/ 連到 Orthanc 裡,用設定好的 username/password 登入。
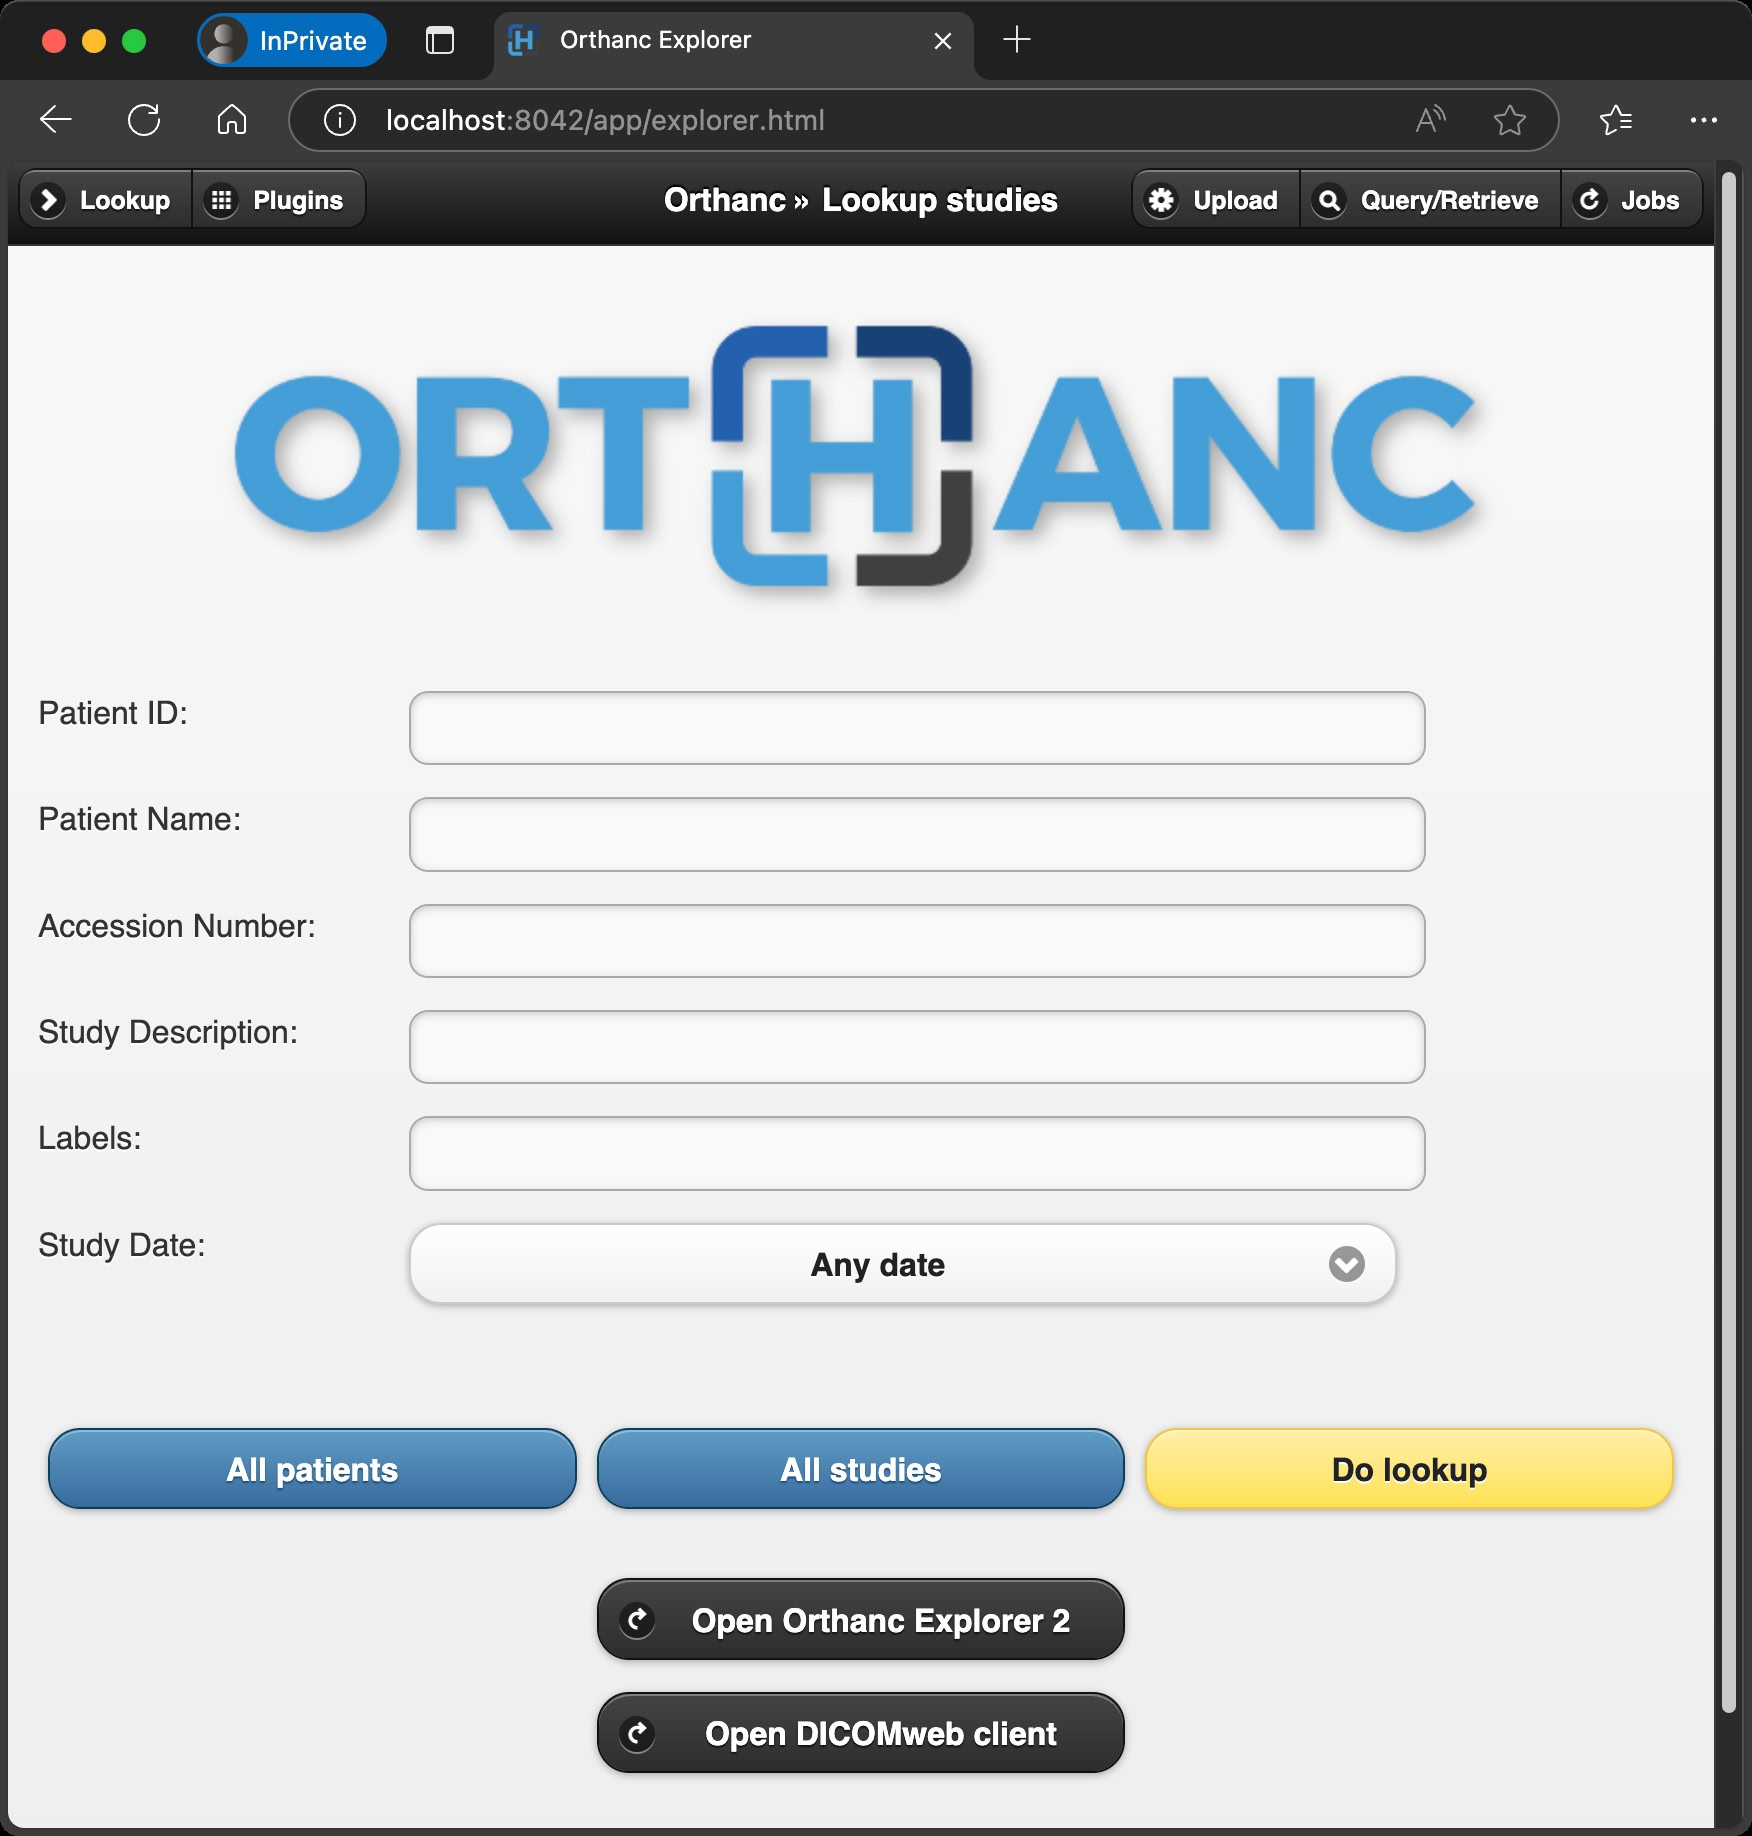
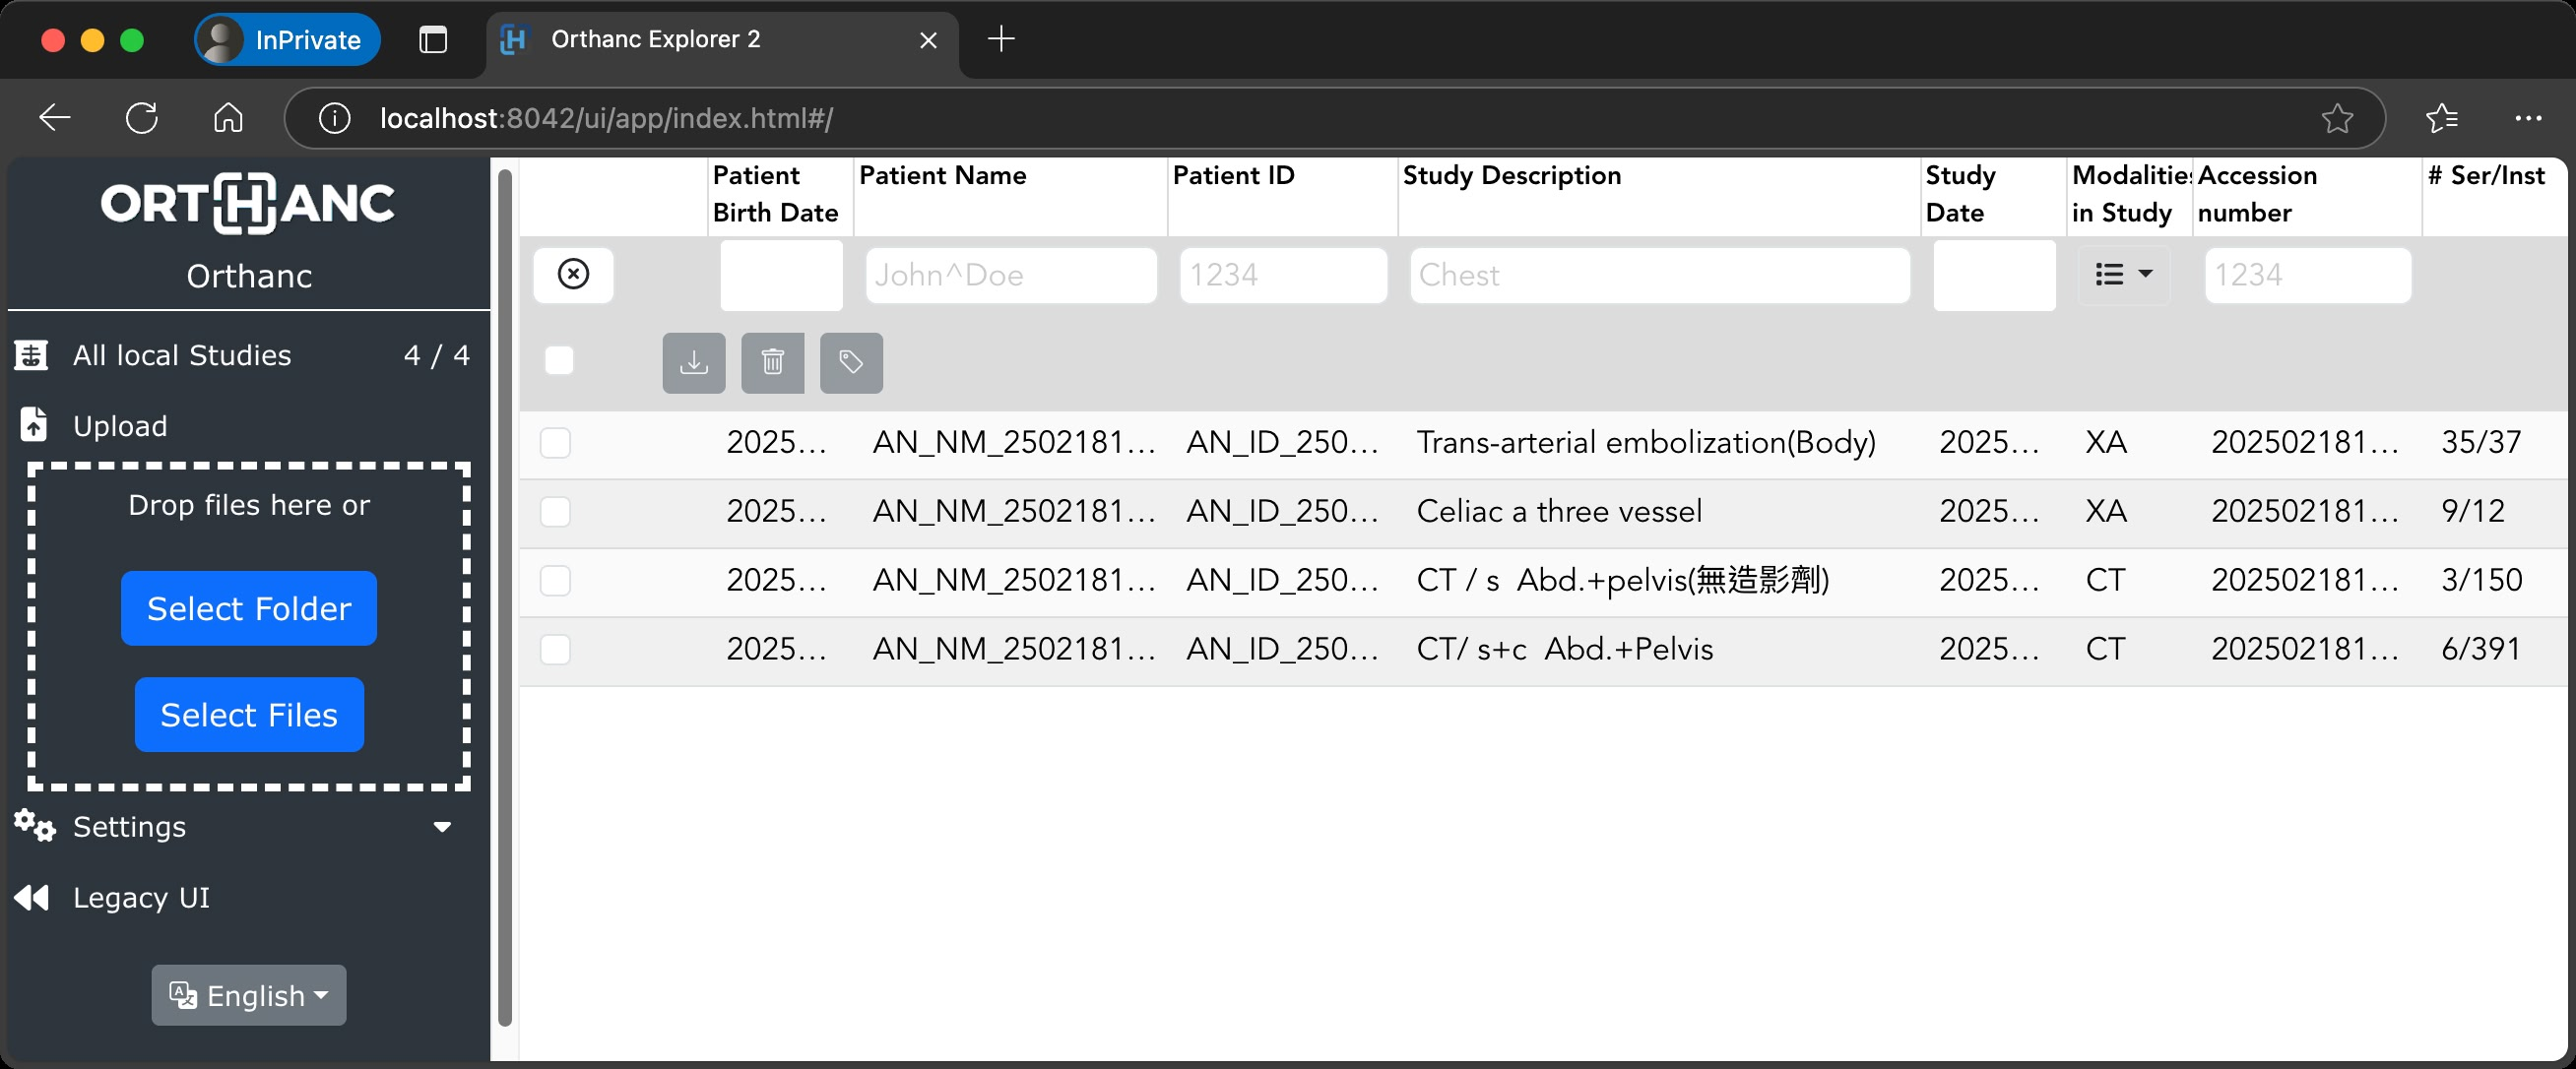
有一個新的介面 http://localhost:8042/ui/app/index.html#/ 比較美麗一點。
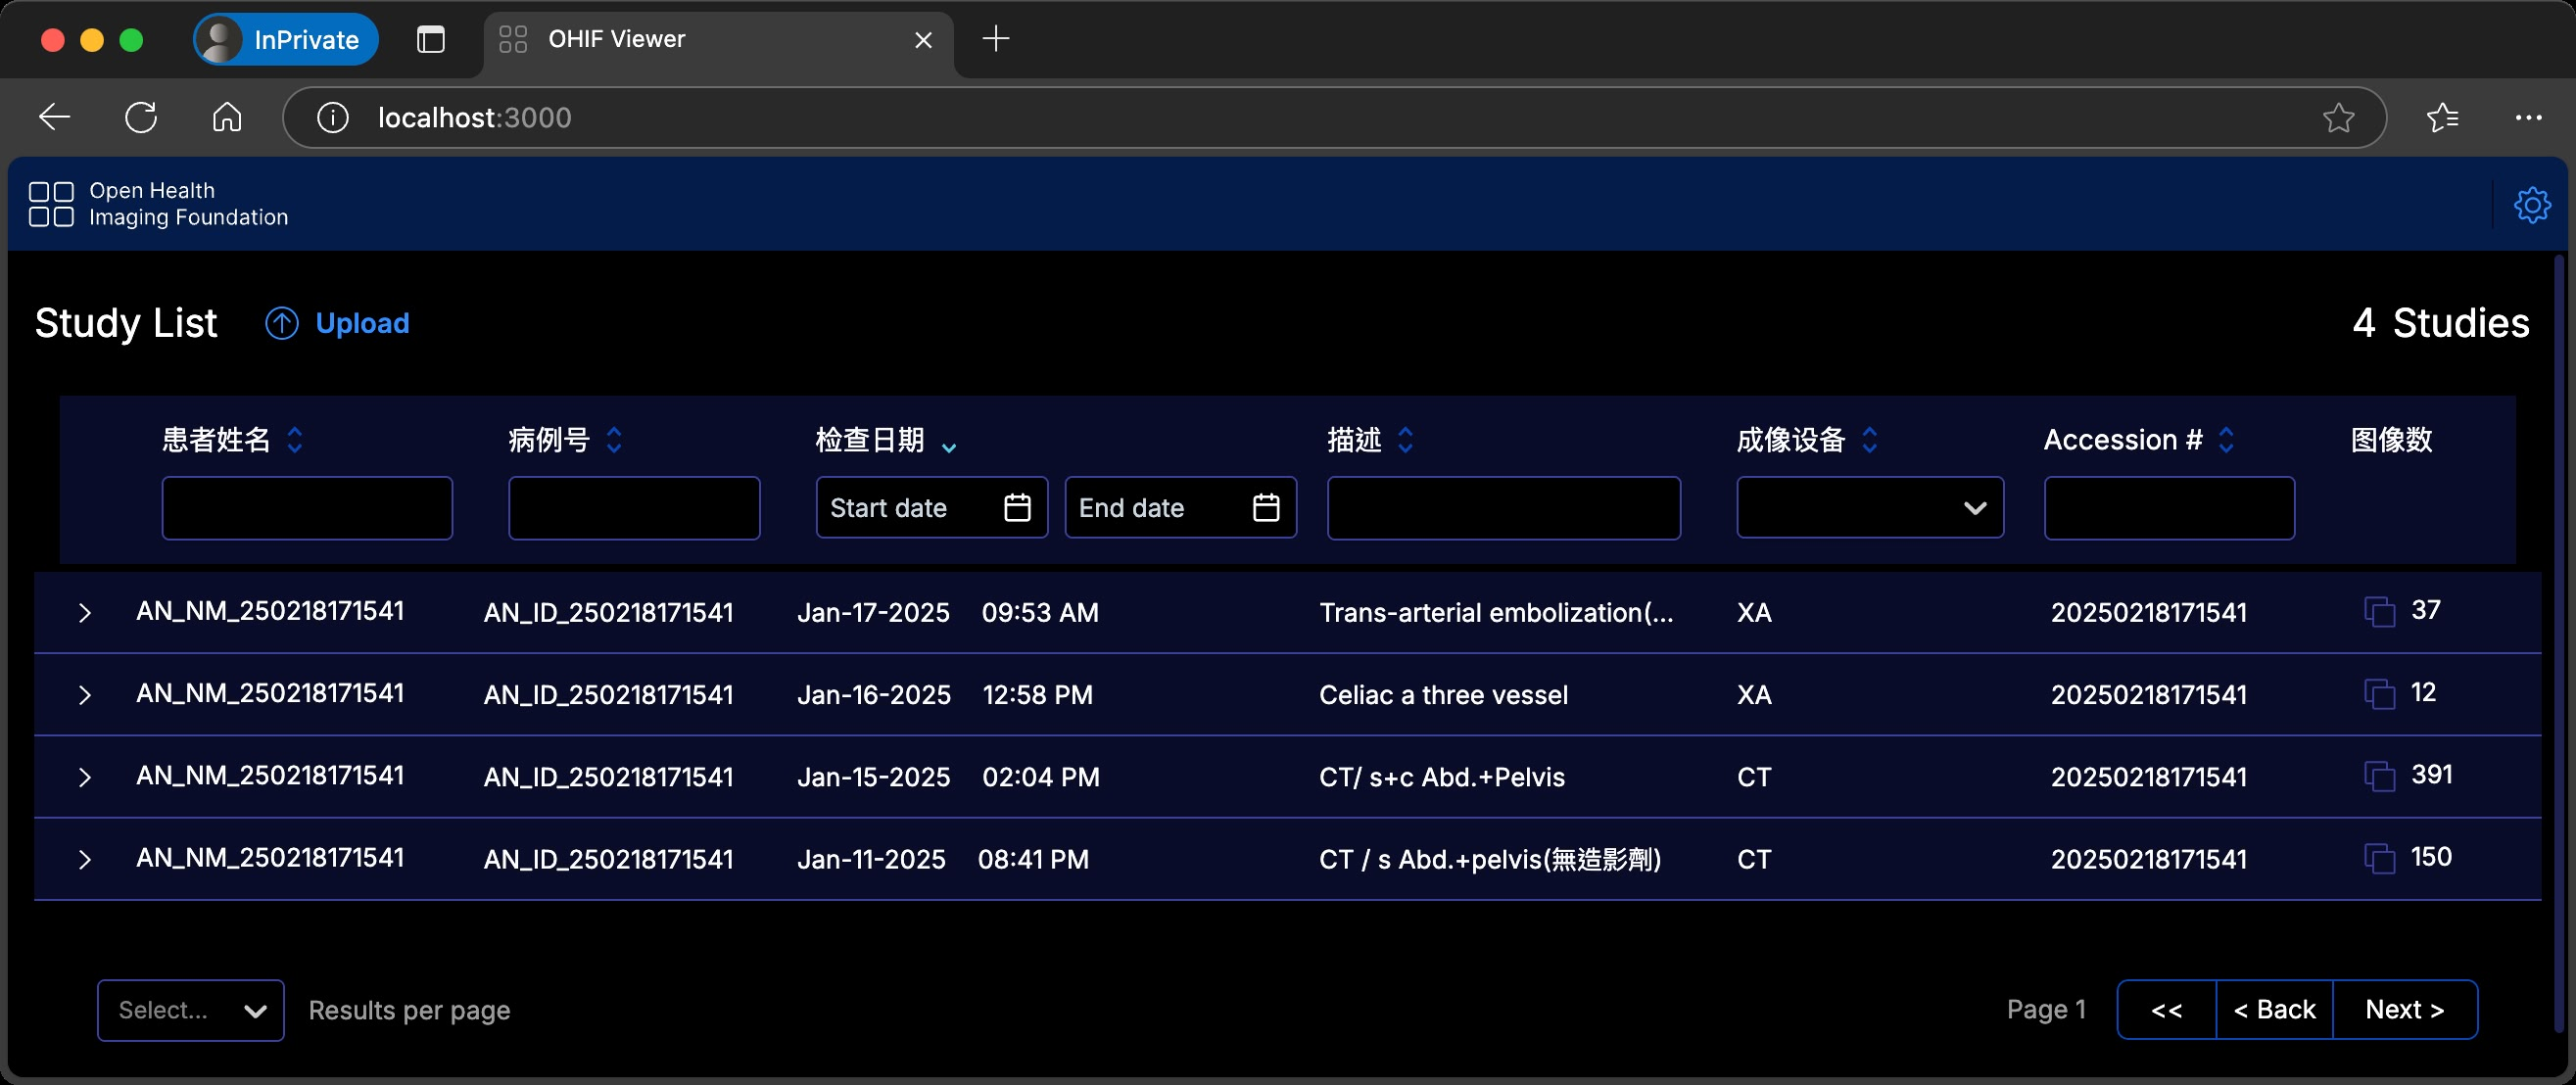
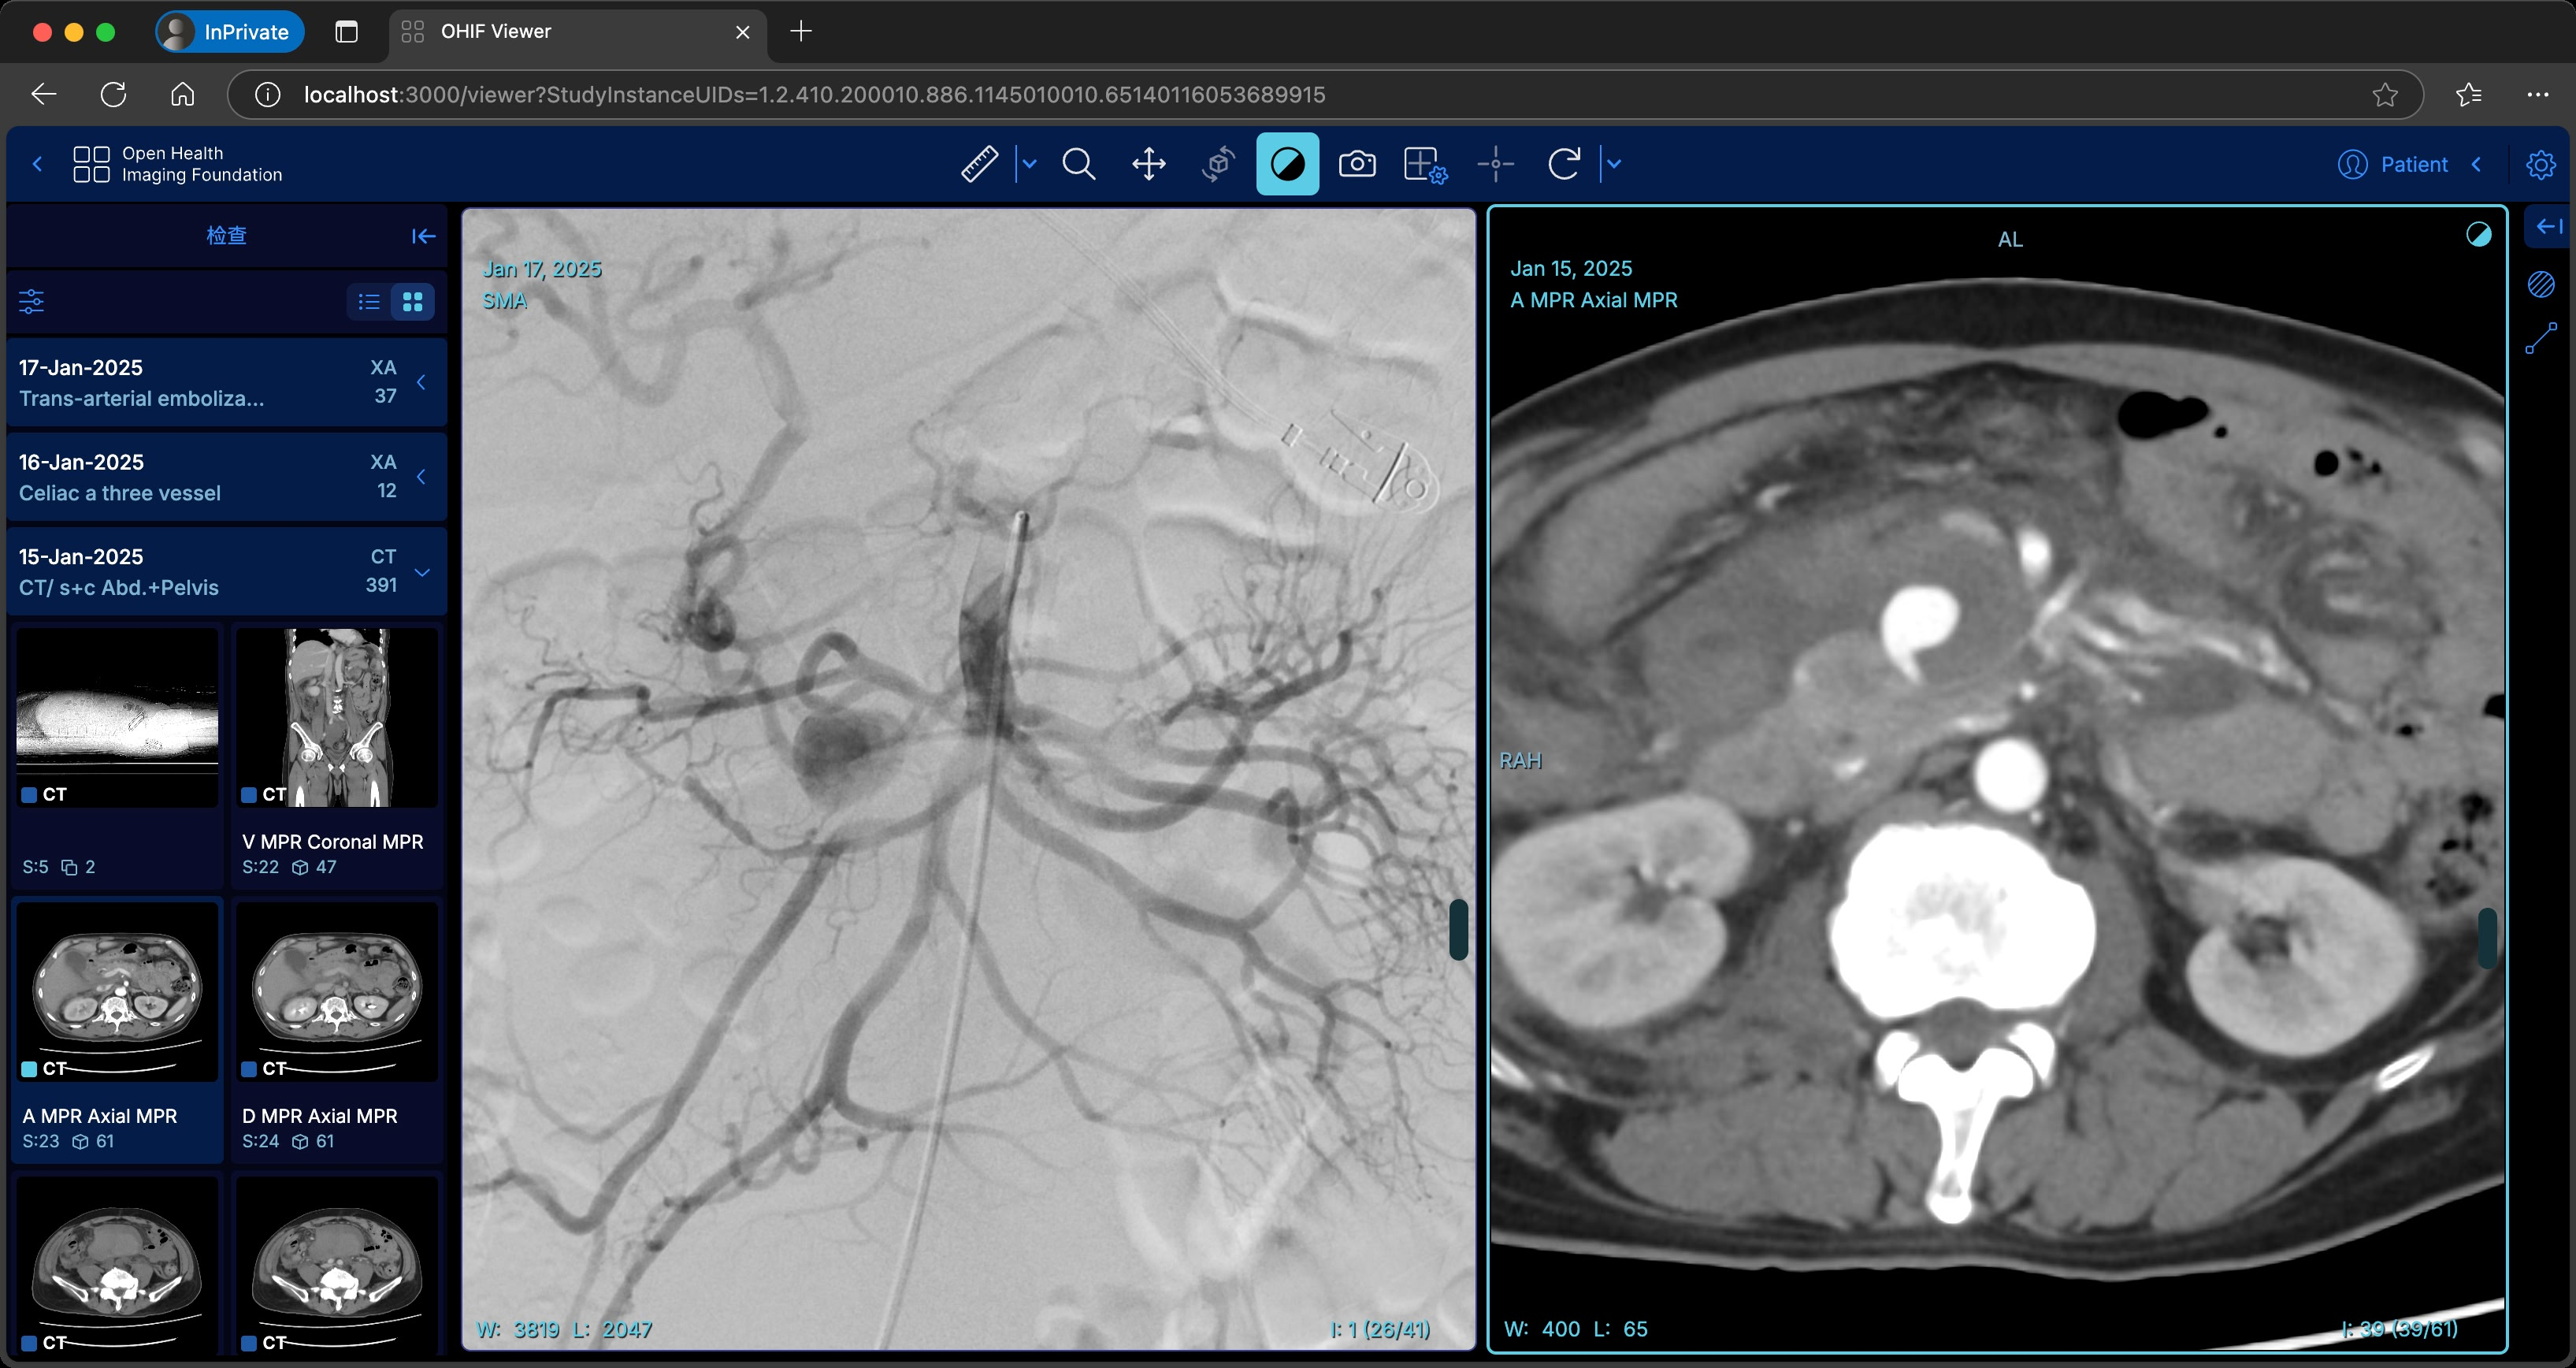
看影像就是連到 http://localhost:3000/ 進入 Study List,再點個別 study。如果已經確定要 show 某個 study,把 url copy 下來就可以直連了。我的作法是在投影片裡建一個超連結,點一下就可以快速開始看影像。
另外注意的是,docker-compose up 起來後,如果直接 Ctrl+C 關掉,container 只是被 stop 了,不會刪掉,有時候設定改了卻沒作用,要注意是不是這個原因,要用 docker rm 把 container 刪掉。也可以強制每次都建新的 container,在 up 時加 --force-recreate,或是用 -d 放到背景執行,之後用 docker-compose down 停止時,就會刪掉了。
未克服的問題
OHIF 的設定檔感覺可以設定 default hotkey, 試著改卻沒作用,但影響不大,就不再細就了。
缺點
這種方式還有一個前提是要能從主 PACS 匯出 DICOM 影像,而不是從螢幕截圖的 JPEG/PNG 檔。
影像如果沒有整理好,例如有很多 series 是不重要沒有要 show 的,可能會忘記跳過,present 起來很亂,浪費聽眾時間。而且 OHIF 預設的排序也不太正確,要多點一下排序的按扭。
另外要注意個資匿名化的問題,OHIF 預設版面是看不到病患資料,但跳回影像清單還是看得到,最好在從主要 PACS export 出來時就做好匿名化。